Showing posts with label learning. Show all posts

No More Straight Lines!


{Let's Learn Photoshop Together}


I was curious to find out how to get text to run along a designated path.
Thinking that, at some point, I would find it useful.
It was quite painless to learn, and at the same time got me interested in the pen tool.

Here are my first attempts at applying my handy new skill.
I wanted to demonstrate how it could be used,
and thought that variations would help.
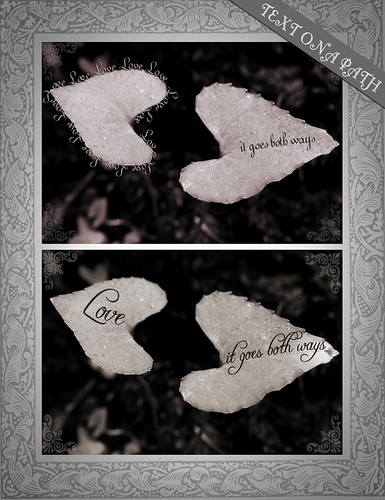
Text on a Path


Here is a video on how to put text on a path.
(You may also learn a few other tips as well-I did.)


I liked the first video since it showed you how to create a path using the pen tool.
But just in case, here is another one to show you a different way of doing it.


I hope that you may find this helpful,
if so, please let me know so I continue to share more.

{Let's Learn Photoshop Together}

If you have any questions, please don't hesitate to ask!

Compare : Contrast


{Let's Learn Photoshop Together}

It's been quite a while since I have touched base on photoshop.
What I want to share today is a tool I frequently find myself using.
The Curves tool is an extremely useful element that can be highly underutilized.
Maybe you've opened it before and played around only to quickly x-out.......
It's a lot easier to control once you understand the basics of how it works.

Whether you like to make drastic changes or minor adjustments, curves is a great starting point.
This video below is a basic guide for the beginning Curves user.


Quick Start Tutorial


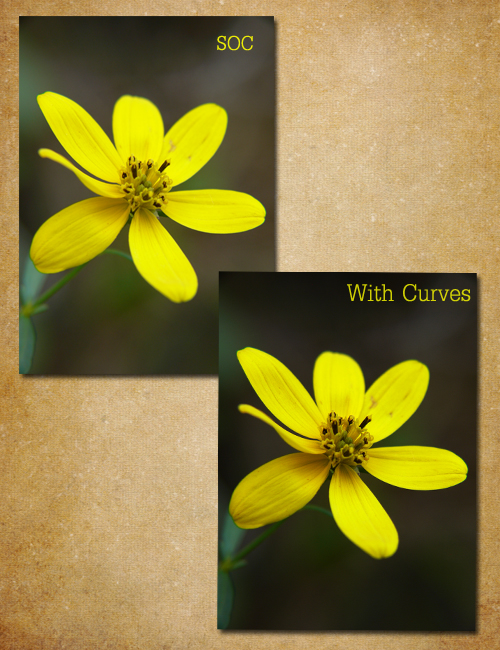
Below is a very subtle but effective example of how using Curves can enhance your photos.
Adding contrast can emphasize texture or intensify
subject-background separation, like in the 'with curves' photo below.
Darkening the shadowy background even further makes the yellow flower pop.
It's not a huge change, but I think it makes a difference.

Curves Adjustment Layer

The key concept with curves is that you can never add contrast in one
tonal region without also decreasing it in another.
In other words, the curves tool only redistributes contrast.

If you had some trouble following in the first video,
here is another one that may help clarify.
Curves : Basics


{Let's Learn Photoshop Together}

If you have any questions, please don't hesitate to ask!

White Reveals, Black Conceals

{Let's Learn Photoshop Together}

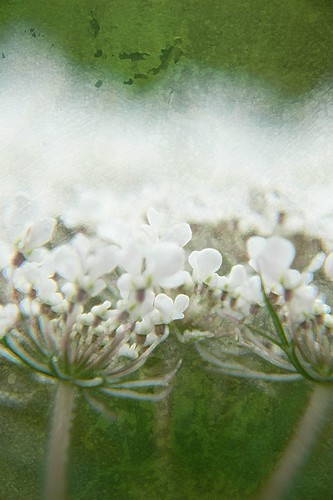
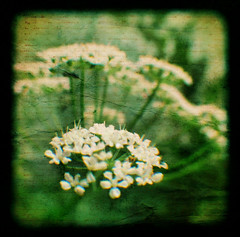
Pearly Whites with Texture


This is what I did with the concrete texture from last weeks exercise.
See what Liss & Elizabeth did with the concrete texture and layers.


Last week we touched base on the basics of how to use layers. A handful of you expressed interest in following along, although I only received 2 links to pictures where you used the texture. If you're not ready to share I understand, but I strongly encourage you to participate when you get a chance. If you did happen to post a photo, but forgot to send your link, you are more than welcome to include it in the comment section of this post.

It takes very little time to sit down and discover what will open many doors for you when processing a photo. I know it sounds cliché, but really, the possibilities will become endless! Once you begin to understand the basics of layers and how they interact with one another, finding different ways to manipulate them is where the real fun begins.

Dainty White

There are other useful tools to be aware of when using layers that weren't addressed in those last two tutorials - this is what we will go over today.
Layer masks are a handy way of applying a certain effect to a particular area of a photo.
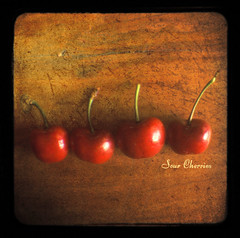
Sour Cherries (pictured below) was an instance where I used a layer mask.
I applied a texture to the photo, but I didn't want it to cover the cherries themselves, so I used a layer mask.

Sour Cherries

The video below is a pretty basic, but comprehensive tutorial on how to use layer masks.


This one is a useful tip on using quick masks, and is very short.


Below is a longer tutorial that will teach you various ways of using layer masks.
It may help to clear up a few things not discussed in the first video.
If you have more time, take a peek...


Don't forget, if you have any questions don't hesitate to ask. Also, if you have something that you would like to learn, but don't want to spend the time digging around, send me your suggestions.

A good tip to remember from this weeks Layer Mask exercise is "White Reveals, and Black Conceals".

If you missed last weeks "Let's Learn Photoshop Together" videos, click here.

~Love Notes~

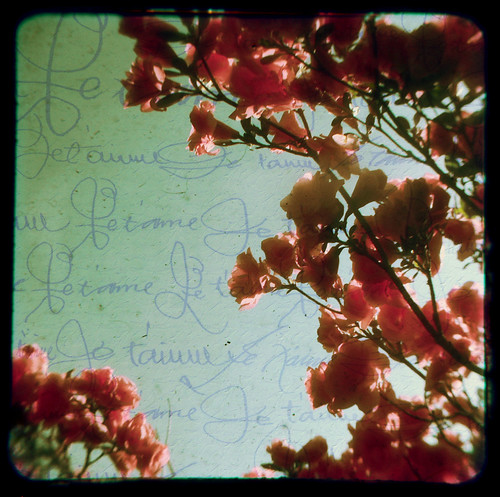
Here is the first photo I told you about in the last post, which talked about me experimenting with photoshop.
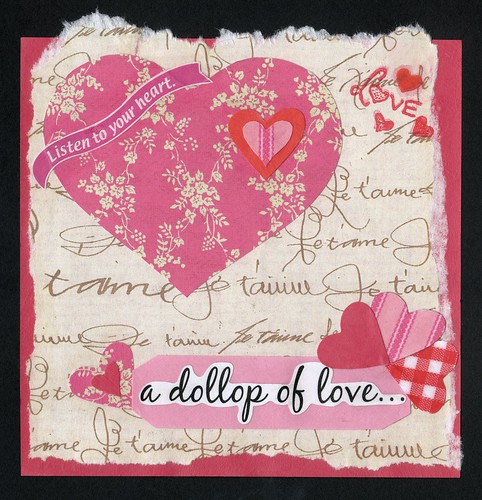
The idea spawned from the background I used for the ArtCard shown below in this post.
The paper reads Je t'aime, which as some of you may know, means "I Love You" in French.

I knew I wanted those words merged with a photo.
Although I didn't know which photo they would work with, but after a little searching, I found one.
By itself, the photo was uninteresting.
After the additions, or let me rephrase that in photoshop talk, the layers really added a lot of interest to the TtV photo - in my opinion.
I really am in love with this photo now........hence the title "Love Notes".....


Love Notes


Update: This week has been somewhat of a blur........
I'll go ahead and confess now, instead of waiting until the end of the month......not just one, but two days this week went by without me taking a photo.
My first excuse being, I reminded myself before I started getting ready for bed, but somewhere during the brush my teeth, hair, yada yada drill......I forgot :(

The second excuse........yesterday was very rough and stressful for me......I'll spare you the details, but when I got home, I had a headache and was just exhausted! I passed out on the couch as I was resting my eyes around 6:30........I woke up somewhere around 7:30 and moved to the bed.......Cody woke me up at 9:45 to eat dinner......I stayed up till 11, then went back to bed.........Strangely enough......I woke up tired!?!?! I very rarely come home and go to sleep, my problem is usually going to bed too late. Last night was probably my body's way of saying, "Slow down, take it easy!".......

I'm so happy that tomorrow is Friday!! And am looking forward to some quality R & R this weekend. Sleeping out in the woods would be ideal.......we've been thinking about going camping. Who knows, we'll see, maybe the forecast will cooperate?


R O M A N C E


There is a pretty clear theme running through this post.
I'll let you decide what it may mean to you.
But I'll tell you how it started for me........
Do you remember me telling you about my new prompt for making ArtCards?
The Fortune Cookie Affirmation?
Maybe?!
Well, on top of amassing the cookie fortunes, I started saving the tabs from my yogi tea bags to put in the pot as well.
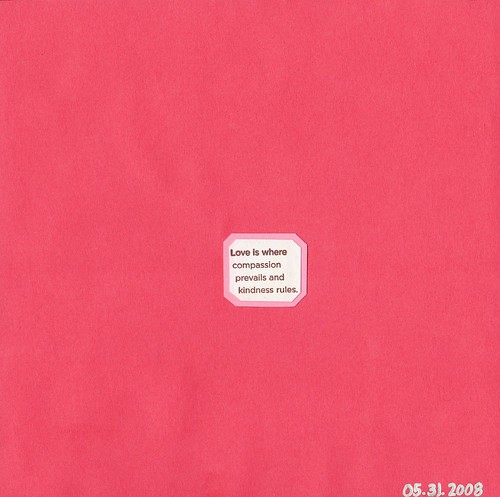
So that's why the piece of paper on the back of the card, is not rectangular like a fortune cookie fortune - in case you were wondering.
So this was my interpretation of the affirmation I pulled.
I know it's very Valentine's Day-ish, but that's just how it all came together in the end.

Romance Back


Shall we compare our hearts to a garden -
with beautiful blooms, straggling weeds,
swooping birds and sunshine, rain -
and most importantly, seeds.

~Grey Livingston~


Experimentation.......


It all started when I had an idea?!
I'll let you in on a little secret, I really suck at properly utilizing Photoshop.
That is until I get it in my head that I need to learn how to do ______.


Sweet Lullaby
View Large On White
*I thought I had this done so that the white border wouldn't show, I'll fix that as soon as I figure out how!!!


This is a package that is long overdue for some mention.
I received it in April before we left to go on vacation.
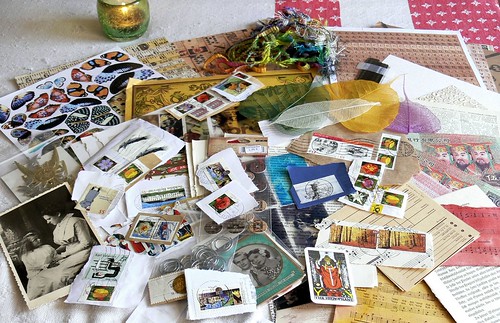
Johanna sent some of the most wonderful bits for collage and other 'mixed media fun'.

Last week, I pulled out a piece of paper to make a new Artcard (I'll post it this week).
Although I couldn't bare to cut away at the original piece of paper, so I scanned it in & printed a copy of it. As I made the card, the words on the page cried out to become more.


I Love Gifts in the Mail: Johanna


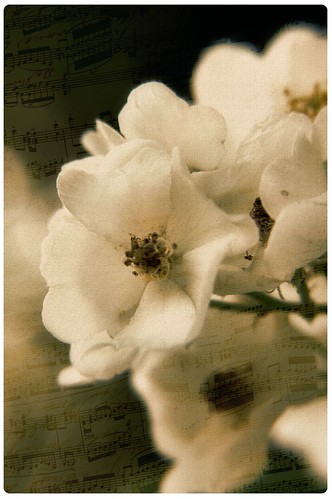
I thought, wouldn't it be great if I could incorporate these words into a photo?
And I know that layers exist, and I know that there are a lot of talented people who know how to use them. But I simply wasn't one of them.
I guess I just never really had the desire to learn - until now.
It was positively maddening for me to figure out how to do what I envisioned.
I googled, and googled......and after a few hours finally found a tutorial that I could wrap my head around.


I rushed over to photoshop, and proceeded to try out what I learned.
In the end I was satisfied with the finished project. Now, this is not the first picture from that night of discovery. I plan to post that one with the Artcard. However, this is my second experiment with layers, which included another photoshop trick I painstakingly had to figure out. I googled, and googled........but failed to find anything! I was very frustrated.....


Blackberry Blossom
(Original Shot)


I finally figured it out for myself.
But that was only after I had a headache and a huge knot in my right shoulder.
Otherwise, I was still beaming at what I accomplished.
What really surprises me is, that I stuck through long enough to learn what I needed.

It also reminds me: I have a lot to learn!